2D Finalist
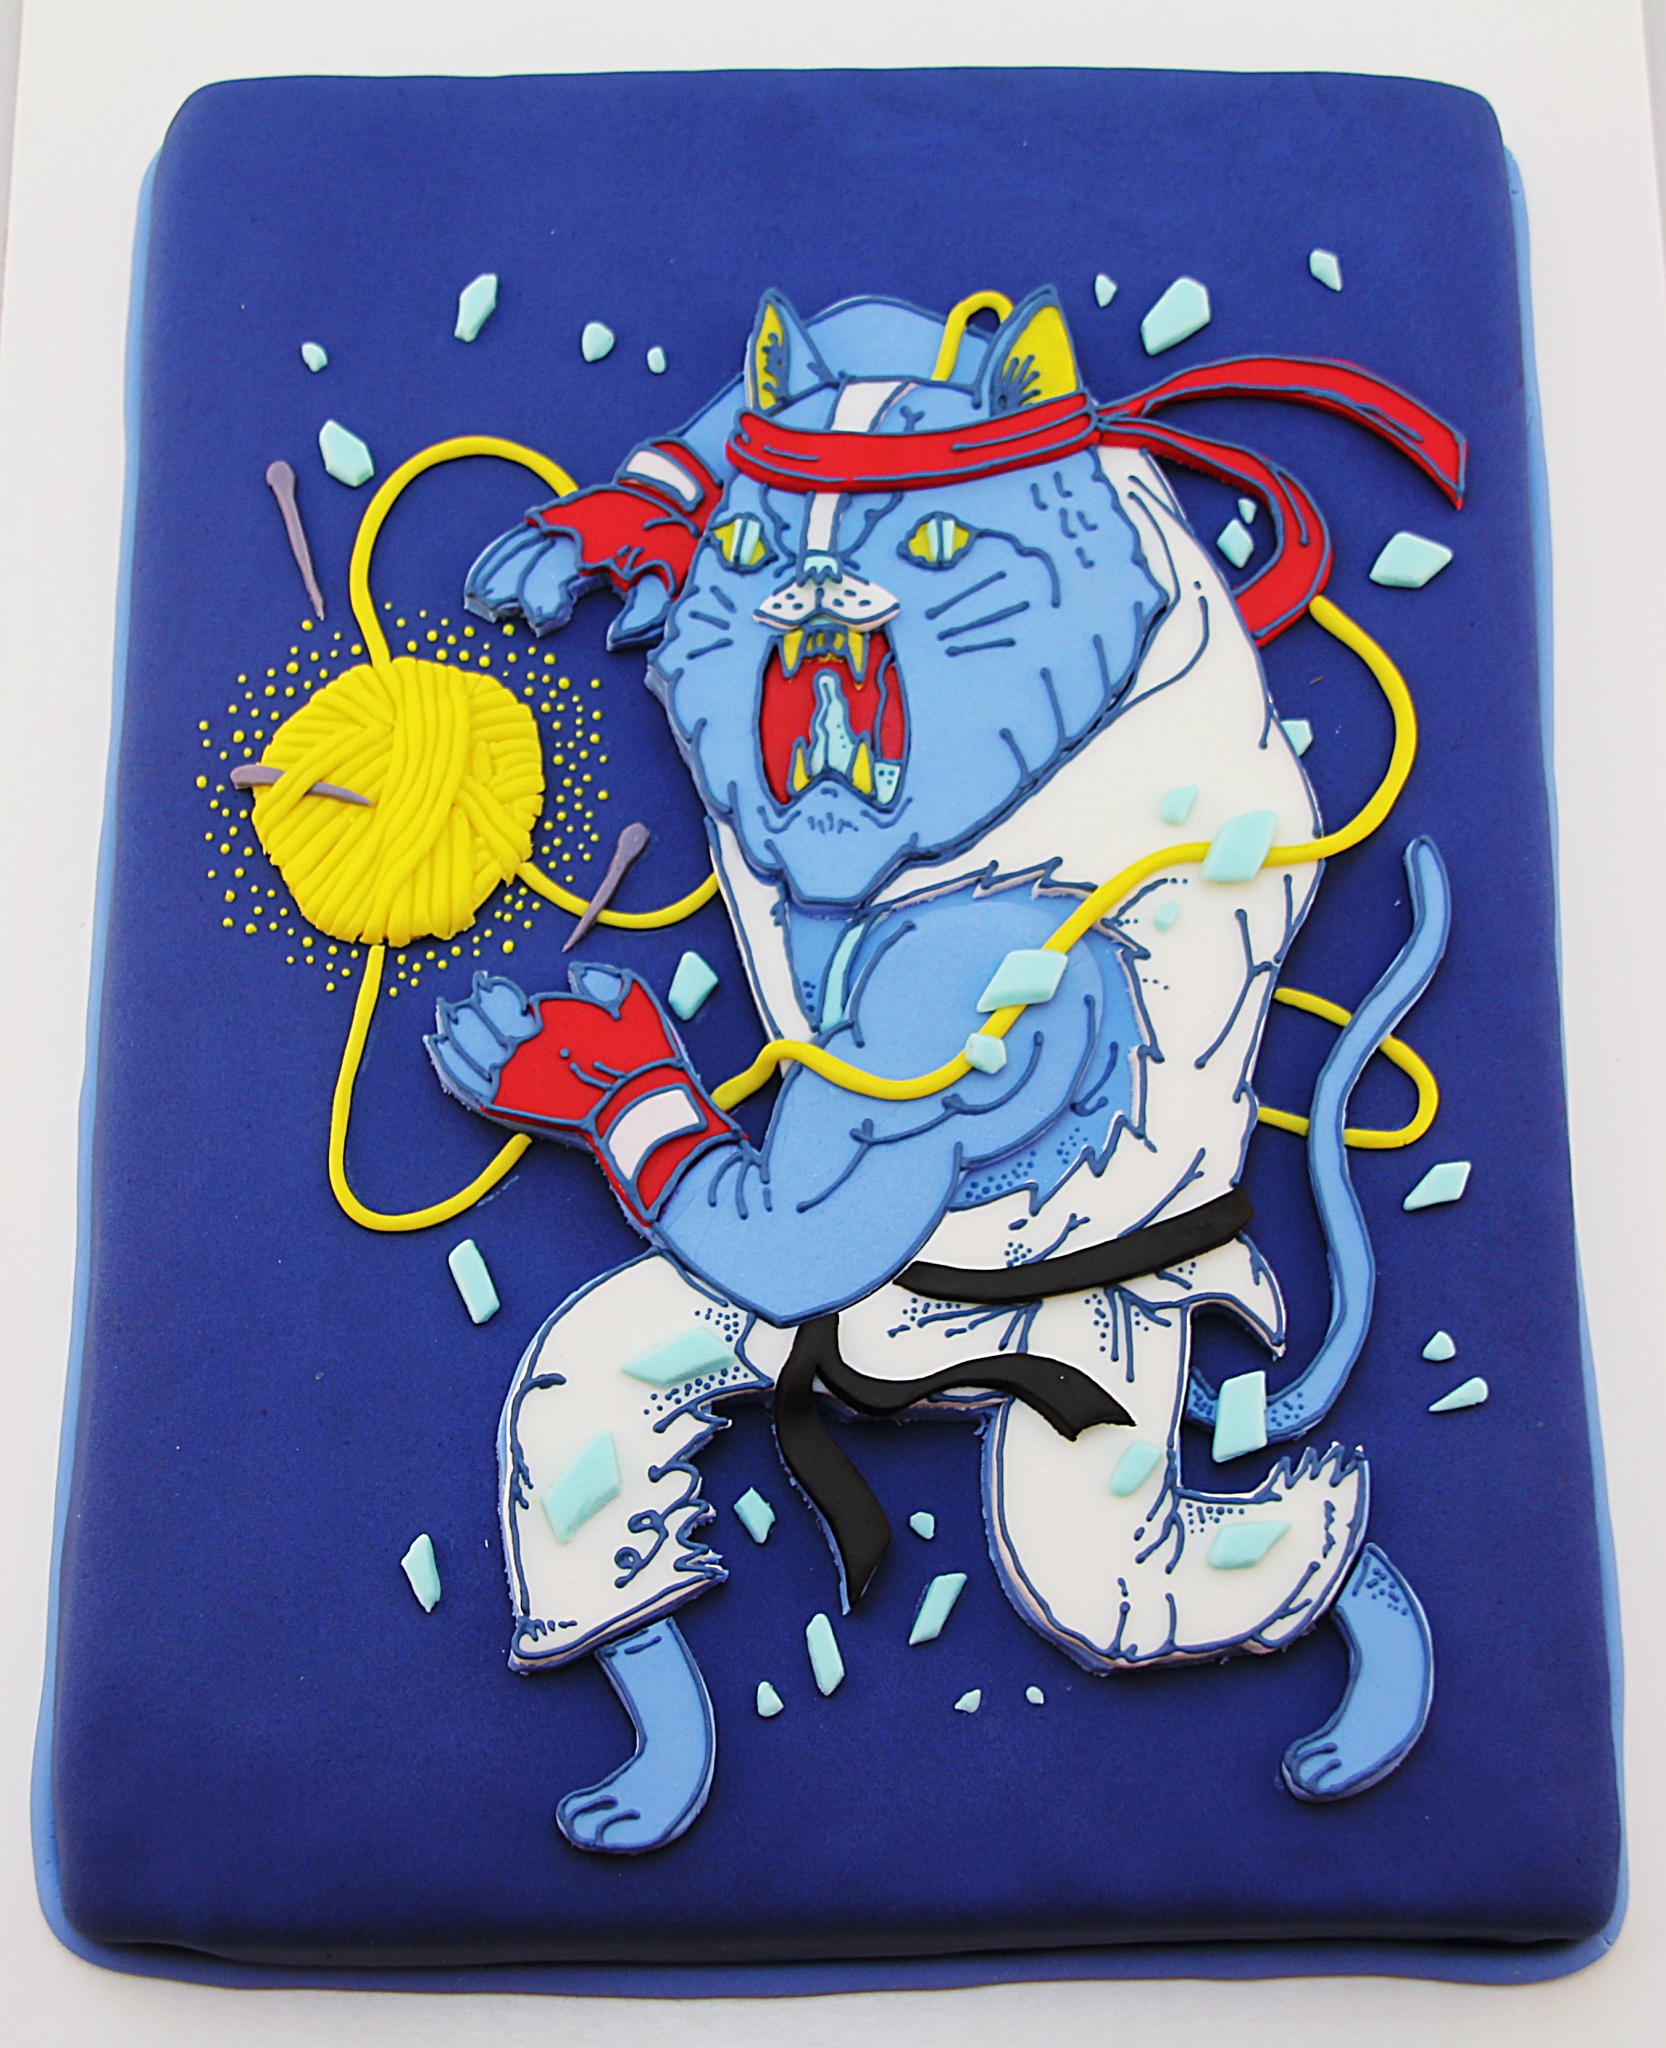
HADOUKAT
by Jasmine Cho · submitted Oct 30, 2015 · 2015 contest
1 / 62
Description
After three years of watching the Threadcakes competition as an unknown, silently drooling baker, I finally stopped just thinking about entering and am entering!
This is the second fondant cake I've ever made entirely on my own, the first being a yellow lego block, so I have to say I'm pretty happy with the results! I'm definitely more of a smaller treats baker who focuses on cupcakes and cookies, but the Threadcakes competition with all its epic Threadless designs was so inspiring that I couldn't help but want to participate!
I'm not a gamer, but I am undeniably drawn to retro video games that remind me of the part of my childhood where I used to take a cup of quarters and ride my skateboard down to the local arcade. Having grown up in a martial arts family, the type of video games that always appealed to me were combat games like Virtua Fighter, Samurai Shodown, and of course, Street Fighter. I used to take out every character as Chun Li, except Ryu always seemed to destroy me when I couldn't block his hadoukens and shoryukens. So, naturally, the Hadoukat Threadless design caught my attention immediately.
Other than completely adoring the design itself for its creative parody, I loved that it was complex enough to give me a healthy challenge with its assembly. I knew I'd thoroughly enjoy the project while sharpening my cake and fondant making skills along the way.
I decided to bake a vanilla malt cake recipe I had recently doctored for cupcakes in a large 14" x 11.5" sheet pan and pair it with my go-to Nutella buttercream frosting.
I printed out two copies of the design; one to use as a visual guide and the other to cut out into pieces to use as stencils for cutting my fondant.
The custom colors I had to mix for the fondant was the blue for the cat, the teal for the scattered debris around the cat, and a bit of gray for the three needles around the ball of yarn. I ended up darkening the royal blue fondant I had as well for the covering of the entire cake.
The design was fairly easy to dissect into pieces. I started with the entire body as a base, then cut out the head, and followed with the rest of the details like the facial features, white gi, red headband and gloves, and black belt, which I placed atop and within the body and head bases.
Once the main character was completed, the next step was to bake the cake. The cake follows the traditional creaming process by starting with butter and sugars mixed until fluffy. Some vanilla, malt powder, coconut milk, eggs, and flour, and the cake was ready to bake in the oven into scrumpdiddlyumptiousness.
Once the cake was cooled, I trimmed it down and cut through the center with a leveler to make it into a two layer cake. I wrapped it up and put the cake into the freezer to hold shape and retain moisture until I was ready to make the buttercream.
The buttercream was also made by creaming together butter and sugar, then adding dallops of Nutella and lightened with whipping cream.
After transferring the cake onto a cake board, I iced it with the buttercream and placed it back in the fridge to slightly harden into shape while rolling out the dark blue fondant covering.
Again, this is the second fondant cake I've ever done, so I made an amateur mistake of not rolling the sugar dough out enough to fully cover the cake's sides. An easy and visually appealing fix was to roll out a light blue border to cover the base where bits of the Nutella buttercream peeked out.
Once my "canvas" was ready, I was able to assemble and affix the cat onto the cake with a light brush of water acting as glue. Once the cat was on the cake, I rolled and cut out the rest of the details including the rest of the headband, yarn, and scattered rock pieces, placing them onto the cake as I made each piece.
After I finished all the fondant decor, I was ready to add in the final outlining details with royal icing. I already had some made up for cookies I was also working on, so I dyed some into a navy blue and yellow and used a #1 tip to pipe the final details of the design.
I decided to donate the cake to my boyfriend's Halloween luncheon but not before I had a piece for myself! Hope you all enjoy my entry as much as I do!